

How to Integrate PayStack into Your HTML & CSS Website: A Step-by-Step Guide


Introduction: Integrating a reliable payment platform into your website is essential if you want to offer a seamless and secure payment experience to your customers. PayStack is a popular payment platform that provides easy integration for websites, making it a top choice for many businesses. In this step-by-step guide, we will walk you through the process of integrating PayStack into your website, allowing you to accept payments smoothly and efficiently.
***** You can also check out this tutorial video on youtube to follow along: https://www.youtube.com/watch?v=oc5aAZDjKVI
Prerequisites: Before we begin, ensure you have the following:
A PayStack account (You can sign up for a free account if you don't have one).
Basic knowledge of HTML, CSS, and JavaScript.
A code editor (such as Visual Studio Code) is installed on your computer.
Step 1: Setting up the Project
Clone the starter code:
Visit the repository containing the starter code https://github.com/codewithsheriga/paystackIntegration
Switch to the "starter" branch.
Clone the project to your local machine using the Git clone command.
Open the project in your preferred code editor.
Familiarize yourself with the project structure, which includes an HTML file and a CSS file.
Step 2: Styling the Form
Open the CSS file and customize the styles according to your website's design.
Save the CSS file and link it to the HTML file using the appropriate "link" tag.
Step 3: Obtaining PayStack API Keys
Log in to your PayStack account.
If you don't have a business set up, create a new business and configure it for test mode.
Access the business settings and obtain the test API key provided by PayStack.
Step 4: Integrating PayStack API into Your Website
Create a new folder named "JS" in your project directory.
Inside the "JS" folder, create a new file named "payment.js".
Visit the PayStack API documentation and find the JavaScript integration code.
 const paymentForm = document.getElementById('paymentForm');
 2 paymentForm.addEventListener("submit", payWithPaystack, false);
 3 function payWithPaystack(e) {
 4  e.preventDefault();
 5
 6  let handler = PaystackPop.setup({
 7    key: 'pk_test_xxxxxxxxxx', // Replace with your public key
 8    email: document.getElementById("email-address").value,
 9    amount: document.getElementById("amount").value * 100,
 10   ref: ''+Math.floor((Math.random() * 1000000000) + 1), // generates a pseudo-unique reference. Please replace with a reference you generated. Or remove the line entirely so our API will generate one for you
 11    // label: "Optional string that replaces customer email"
 12    onClose: function(){
 13      alert('Window closed.');
 14    },
 15    callback: function(response){
 16      let message = 'Payment complete! Reference: ' + response.reference;
 17      alert(message);
 18    }
 19  });
 20
 21  handler.openIframe();
 22}
Copy the provided code and paste it into the "payment.js" file.
Replace the placeholder API key in the code with your test API key obtained from PayStack.
Save the "payment.js" file.
Step 5: Linking the JavaScript File
Open the HTML file.
Add a script tag within the HTML body and set the source attribute to "JS/payment.js".
Save the HTML file.
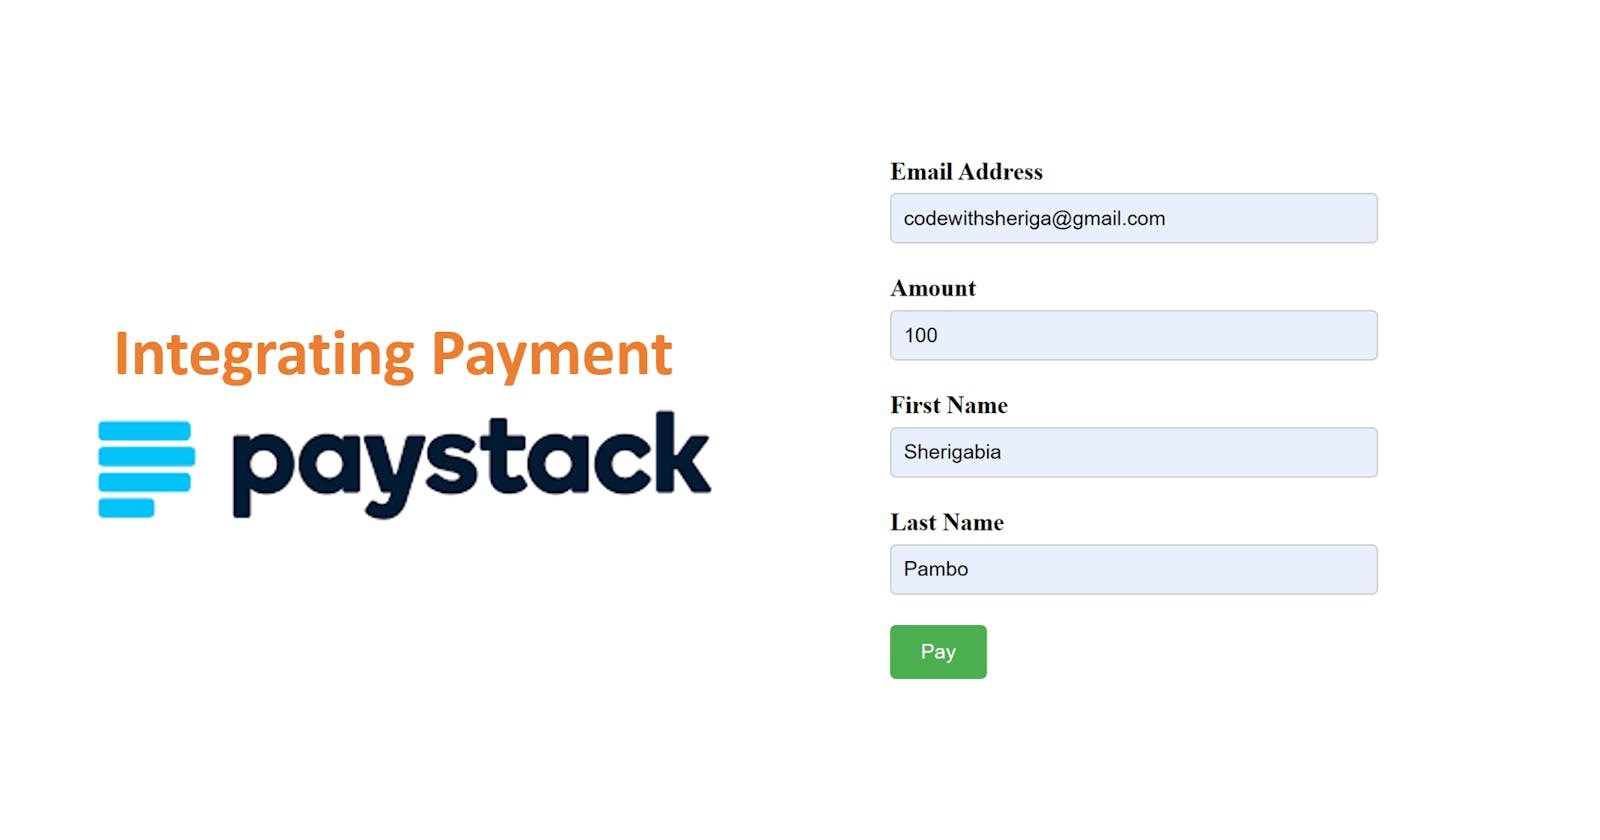
Step 6: Testing the Payment Integration
Start a local development server (e.g., Live Server) to view your website.
Fill in the required details (email, amount, etc.) in the form.
Click the "Pay" button.
If everything is set up correctly, you should see the test payment process being simulated.
After the payment process completes, you'll receive a "Payment Successful" message along with a reference ID.
Conclusion
Congratulations! You have successfully integrated the PayStack payment platform into your website. By following this step-by-step guide, you can now offer your customers a secure and hassle-free payment experience. Remember, if you want to switch from test mode to live mode, you'll need to provide additional details and follow the necessary steps to legitimize your business.
I hope this guide has helped assist you with the PayStack integration. If you have any questions or encounter any issues along the way, feel free to reach out to PayStack's support team for further assistance. Happy integrating!